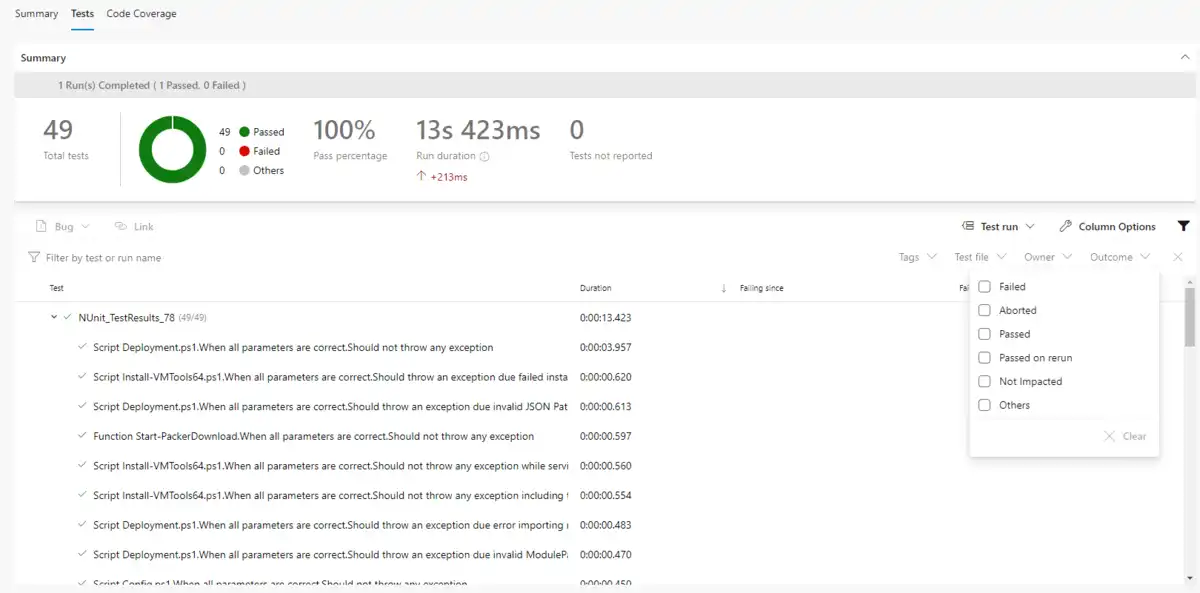
Learn PowerShell Scripting Tutorial. In this article in detailed we have explained to setup Pester Azure automation with code coverage for Azure DevOps pipelines using YAML script.
Pester repository setup with JaCOCO library for code coverage
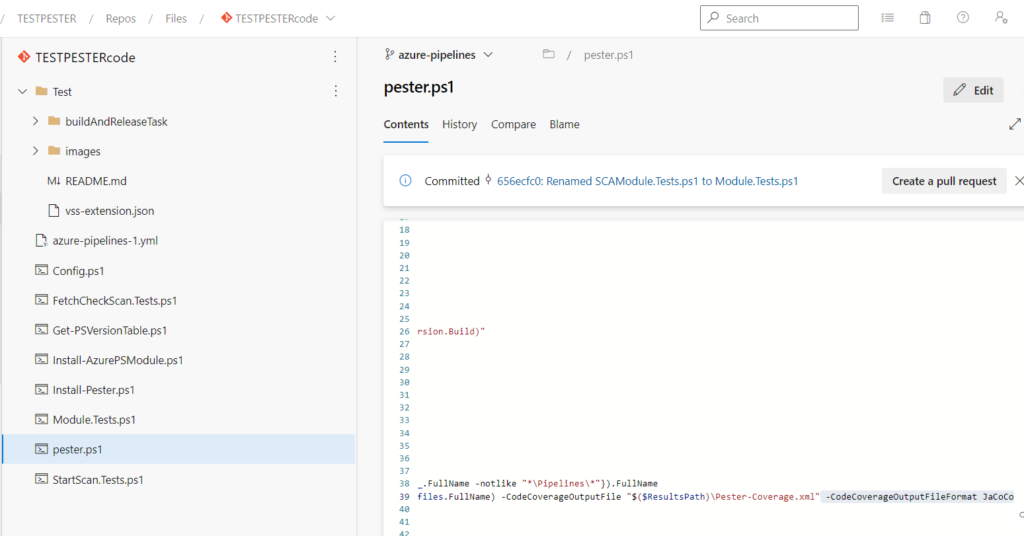
azure-pipelines-1.yml YAML script to setup Azure pipeline for Pester Test Automation
# Starter pipeline
# Start with a minimal pipeline that you can customize to build and deploy your code.
# Add steps that build, run tests, deploy, and more:
# https://aka.ms/yaml

trigger:
- main

pool:
  vmImage: 'windows-latest'

steps:
- powershell: ./Install-Pester.ps1
  displayName: 'Load Pester'
- powershell: ./Install-AzurePSModule.ps1
  displayName: 'Load Azure CLI'
- task: PowerShell@2
  displayName: 'Add buildinfo.json to application folder'
  inputs:
    targetType: 'inline'
    script: |
      new-item -itemtype file -path './' -name "buildinfo.json" -force -value '{"branchName":"$(Build.SourceBranchName)"}'
- task: CopyFiles@2
  displayName: 'Copy repository to Artifact staging directory'
  inputs:
    SourceFolder: './'
    Contents: '**'
    TargetFolder: '$(Build.ArtifactStagingDirectory)'
    CleanTargetFolder: true
- task: PowerShell@2
  displayName: 'Executing Pester Tests'
  inputs:
    filePath: './pester.ps1'
    arguments: '-ModulePath "./" -ResultsPath "./" -Publish $true'
    errorActionPreference: 'stop'
    ignoreLASTEXITCODE: true
- task: PublishTestResults@2
  displayName: 'Publish Pester Tests'
  inputs:
    testResultsFormat: 'NUnit'
    testResultsFiles: '**/Test-Pester.xml'
    pathToSources: './'
    mergeTestResults: true
    failTaskOnFailedTests: false
- task: PublishCodeCoverageResults@1
  displayName: 'Publish Code Coverage'
  inputs:
    codeCoverageTool: 'Jacoco'
    summaryFileLocation: '**/Pester-Coverage.xml'
    pathToSources: './Test->your folder name where powershell plugin file present'
    failIfCoverageEmpty: false
YAML Pipeline Setup On Azure DevOps for Pester Automation Test
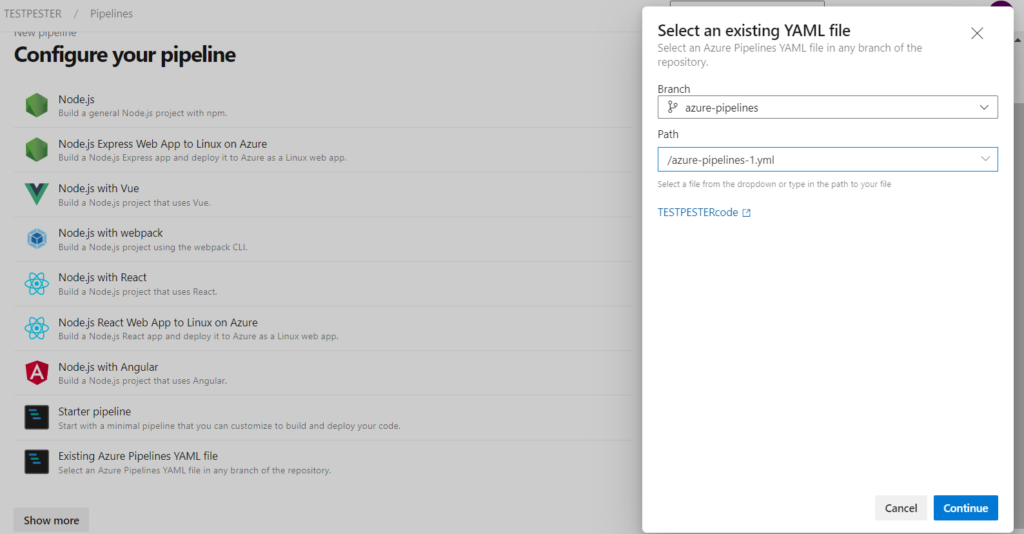
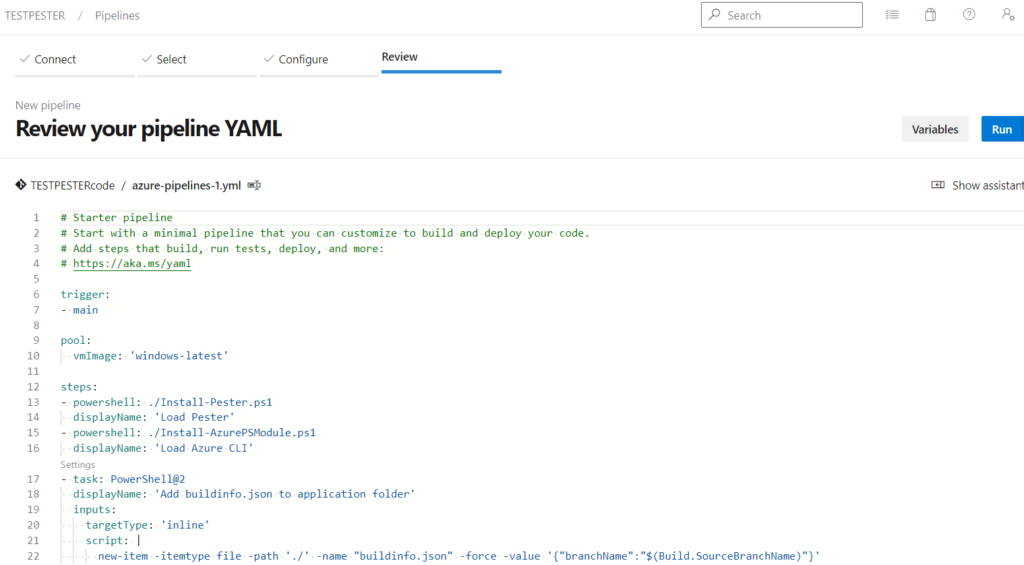
Use Azure Repos Git YAML >> Choose your Repository >> in Configure choose Existing Azure Pipelines YAML file choose Branch and Path of your YAML file for pipeline task setup >> Run.
Pester Test File Extension – “Tests.ps1”
If Tests.ps1 is present in Filename.Tests.ps1 it will automatically consider as a Pester Test code, no need to call separately below is the code for Pester Test Cases :-
Import-Module .\Test\buildAndReleaseTask\scripts\Pluginfile.psm1 -DisableNameChecking

Describe -Name "fetchScan" -Fixture{
    It '1st Check if the fetched scan result is correct' {
        $auth = Authentication
        $totalnos  = fetchScan -id '12345' -auth $auth
        $totalnos | Should -MatchExactly 'Failure'
    }
    It '2 Check if the fetched scan result is correct' {
        $auth = Authentication
        $totalnos  = fetchScan2 -id '12345' -auth $auth
        $totalnos | Should -Be '0'
    }
    It '3 Check if the fetched scan result is correct' {
        $auth = Authentication
        $totalnos  = fetchScan3 -id '12345' -auth $auth
        $totalnos | Should -BeExactly '@{Libraries_Name=lib-Core; Version=2.8.0}'
    }
    It '4 Check if the fetched scan result is correct' {
        $auth = Authentication
        $scanstatusurl  = fetchScan4 -id '12345' -auth $auth
        $totalnos  = $scanstatusurl[2]
        $totalnos  | Should -MatchExactly '0'
    }
}
Learn to Develop a web extension (an Azure Plugin) and azure-devops-pipelines-using-pester.
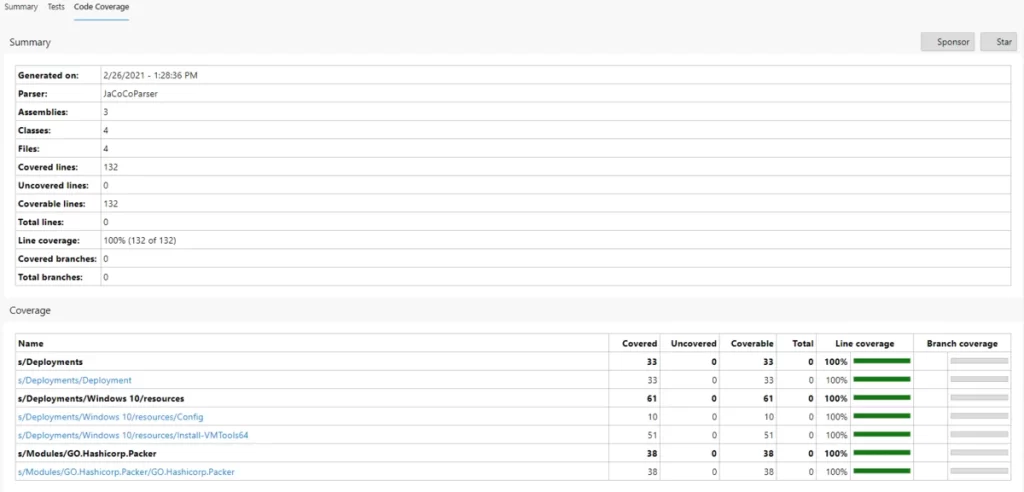
Pester Pipeline with code coverage for file –Pluginfile.psm1
Conclusion
This is the detailed explanation of Pester Azure DevOps Test automation Pipeline with code coverage for PowerShell plugin script

